Food Preservation 101
-
Food Preservation
If you find yourself with an abundance of fruits or vegetables there are several ways to preserve your harvest, in this blog we will cover the following methods of food preservation:
- Root Cellaring
- Freezing
- Dehydration
- Fermentation
- Water Bath Canning
- Pressure Canning
- Freeze- Drying
Root Cellaring – The simplest way to keep your food fresh! Just find a cool, dark spot. Root veggies like beets, carrots, potatoes, and winter squash, plus hardy fruits like apples and pears, can chill out in a root cellar for months. Remember to stash your fruits and veggies in different containers; a lot of fruits give off ethylene gas, which can speed up ripening and spoilage in your veggies.
Freezing – It takes a bit more effort, you know? You gotta slice ’em up or do some blanching. The bummer about freezing your stash is that it hogs up space in your freezer, and if the power goes out, you could end up losing a bunch of food.
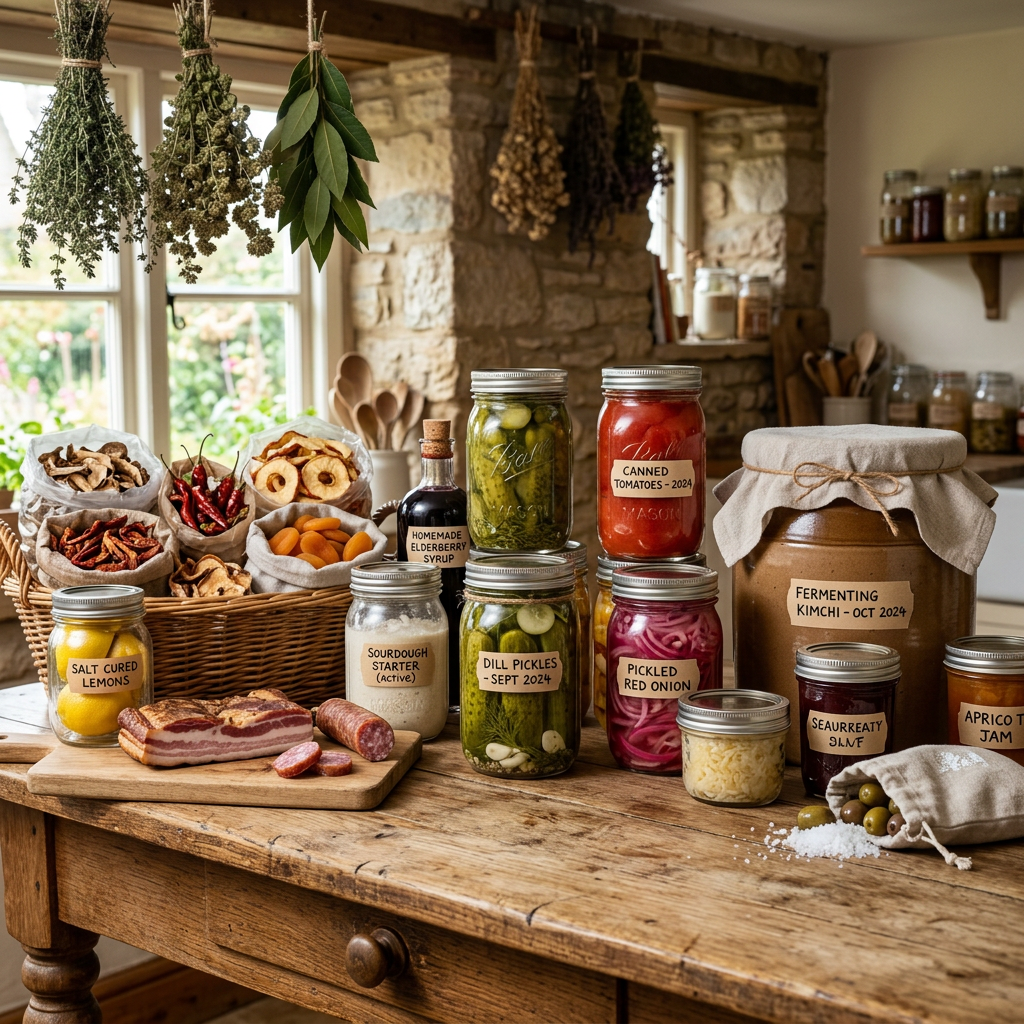
Dehydration – It zaps the moisture out of your fruits and veggies, helping them stick around for longer. By drying them, you’re cutting down on water content, boosting the flavor, and making them smaller, which means they’re easier to store and take with you on the go!
The key to dehydrating food is all about cutting down the moisture so you don’t end up with mold later on. If you’re drying fruit at home, just aim for a moisture level of around 20%.
Some fruits can be thicker than others, which means they can hold onto more moisture. To fix this, you can condition the dried fruit to help even out that moisture. Just make sure to let the fruit cool down completely before tossing it loosely into a big jar. Once it’s sealed up, let it sit for a week and give it a shake every day to stop it from clumping together. Any extra moisture in the juicier pieces will get soaked up by the drier ones during this time. If you notice any condensation inside the jar, that’s a sign there’s still some moisture hanging around; if that happens, it’s a good idea to pop the fruit back in the dehydrator to dry it out some more.
Hey, so unlike fruit, you gotta dehydrate veggies until they’re nice and crispy. Make sure to stash those dried snacks in a cool, dark spot and keep them in airtight containers!
Car Dehydration – On a super hot summer day, the heat inside your car can dry out your veggies and fruits real quick. Just grab a cookie sheet, cover it with a kitchen towel, and lay your sliced fruits and veggies close together on it. Pop the tray inside your car and make sure to shut the windows and doors. Give those trays a check every couple of hours and flip those slices around each time. Just a heads up, the drying times might change based on how hot it is!
Recipes
Dehydrated Recipes
Dehydrated Vegetables – Just toss those ripe, sliced veggies in the dehydrator at 135 degrees and let them chill for about 8-10 hours or until they’re nice and crispy.
Uses for dehydrated vegetables:
- Healthy Snack – just toss on some salt for a tasty, healthy munch!
- Gravy & Smoothies – Just toss ’em in the blender and whip up a veggie powder!
- Meatloaf – Just chop it up roughly and mix it in!
- Soup Starter – Grab a quart-size jar and fill it up with a bunch of soup veggies like carrots, celery, potatoes, onions, tomatoes, and zucchini. This mix is perfect for whipping up some tasty soup or taking along on your camping trip!
- Space Saving & Preservation – Just one jar of dried veggies is good enough for about a gallon of liquid. They soak up the liquid and puff up! Those dried veggies get bigger as the soup cooks, making it all tasty.
Chewy Dried Bananas – Makes 4 cups of dried bananas. Dehydrate bananas that are starting to turn & then use them to make these yummy banana chips!
Instructions:
- Lay those beef strips out on the dehydrator trays so they’re almost touching, but not quite!
- Grab a bowl and throw in the soy sauce, Worcestershire sauce, garlic, onion salt, and pepper. Mix it all up!
- Toss the beef in there and make sure it’s all coated up with the marinade.
- Pop it in the fridge and let it chill for about 8 hours or overnight.
- Strain the beef using a colander.
- Dehydrate at 160 degrees until they’re dry but still a little bendy, which usually takes about 5 to 8 hours, depending on how thick your slices are and your dehydrator.

