Home Canning Fun!
Home canning takes some time, but man, it’s definitely worth it!
The Science of Canning Safety
- Canning is a cool way to keep food fresh by kicking out the oxygen, getting rid of the enzymes that make fresh stuff go bad, and stopping bacteria, yeast, and mold from crashing the party.
- The vacuum seal that comes from processing foods keeps your grub safe from any gross stuff.
- Keep your utensils & hands clean to avoid contamination.
- If you’re canning low-acid stuff like meats and veggies, make sure to use a pressure canner.
- Botulism can totally survive a water bath process and can even grow in sealed jars of low-acid foods. It’s not super common, but it can be deadly! If you stick to the right canning methods, use the right gear, and follow the processing times, you are in the clear.
Canning Jars– You need specialized jars. They come in a variety of sizes. You will be able to reuse your jars for years! Canning jars are usually embossed with a brand name (like Ball or Kerr). They aren’t expensive & you can usually find them at garage sales too.
Canning jars are sealed up using a simple two-part system: you’ve got a flat lid (known as “flats”) and a ring or band that keeps the flat snug while you process everything. You can keep using the jars and rings over and over, but swap them out if they start to rust. Each time you’ll need to grab a new flat, which has a sealing compound around the edge of one side. It sits right on top of the jar’s rim and gets snugged down with a ring, and that flat is what really seals the jar while it’s being processed.
Canning at Altitude – If you’re living above 1,000 feet, you’ll need to adjust your cooking time and/or pressure. Be sure to check with your local county extension agent for canning advice in your area.
Sterilizing Canning Jars
Start with clean jars for anything you’re going to process for under 10 minutes in a water bath canner (check out the details below). If you’re dealing with something that takes longer or you’re pressure-canning, don’t worry about sterilizing the jars; just give them a good wash. To sterilize, pop those empty jars on the rack in your water bath canner. Fill it up with hot water until it’s just above the jar rims. Heat it up until it’s boiling. Let it boil for 10 minutes, and if you’re over a thousand feet in elevation, add an extra minute for every thousand feet. Once that’s done, take them out, drain them, and fill those jars one at a time!
Water Bath Canning
Specialized water bath canners are big pots that come with a wire rack to keep the jars from clanging against each other. A regular water bath canner can fit seven jars at once.
- Fill up your canner with enough water so that the jars are covered by about 1 to 2 inches. The exact amount you need will change based on how big your jars are.
- Bring water to a boil.
- Heat water to 140 degrees for raw-packed foods or 180 degrees for hot-packed foods.
- Use a jar lifter to place full jars in the water. Cover & bring water to a full boil over high heat.
- Start timing when the water begins to boil.
- Once processing time has elapsed, turn off heat & remove jars, placing them on a towel-covered surface. Allow jars to cool.
- Check for a seal; The flat should feel solid & a bit indented. If it flexes, the product is not shelf stable. Store in the refrigerator & use it soon.
- Remove bands from sealed jars & was the outside of the jars before storing.
Pressure Canning-
Pressure canning is like making really hot water, way hotter than just boiling it. You’ll need a pressure canner for this. It’s seriously the only safe method for canning things like veggies, meats, and other low-acid foods.
Get ready to use jars in a pressure canner:
- Pour in around 3 inches of hot water into the canner.
- Pop those filled jars onto the rack.
- Pop the canner lid on nice and tight, crank up the heat to high with the vent open, and keep an eye out for that steam escaping!
- Let the steam chill for about 10 minutes, then shut the vent so the canner can start pressurizing.
- Once the dial shows you hit the right pressure, start the timer. Keep that pressure steady for as long as you need to!
- If the pressure drops below what it’s supposed to be, just bump the canner back up to pressure and restart the timer.
- When the time’s up, just let the canner cool down on its own, then pop open the vent.
- Chill for 10 minutes, take off the lid, and set the jars on a towel to cool down.
Venting Pressure – Don’t forget to check out the instructions for your pressure canner! Some of them let steam out through a little valve called the petcock, while others use a weighted gauge.
Pickling
Pickles are basically fruits, veggies, and even sometimes eggs and meat that have been soaked in a vinegar brine to keep them fresh. Whether you’re pickling whole veggies or slicing them up, you’ll get that awesome tangy, sour kick, making it a fun way to save your garden goodies. Great veggies for pickling are things like cauliflower, carrots, cucumbers, green beans, and okra. And don’t forget fruits like peaches, pears, pineapple, and watermelon; they’re perfect for pickling too!
Using a water bath process is a great way to whip up some shelf-stable pickles that you can stash in your pantry. Plus, making pickles in small batches is super easy when your garden veggies are coming in!
When you’re whipping up some refrigerator pickles, you don’t need to mess around with hot water or worry about sealing the jars completely, so any jar that has a decent lid will do the trick. Plus, if you want to fit those veggies in tight, a wide-mouth jar makes life way easier!
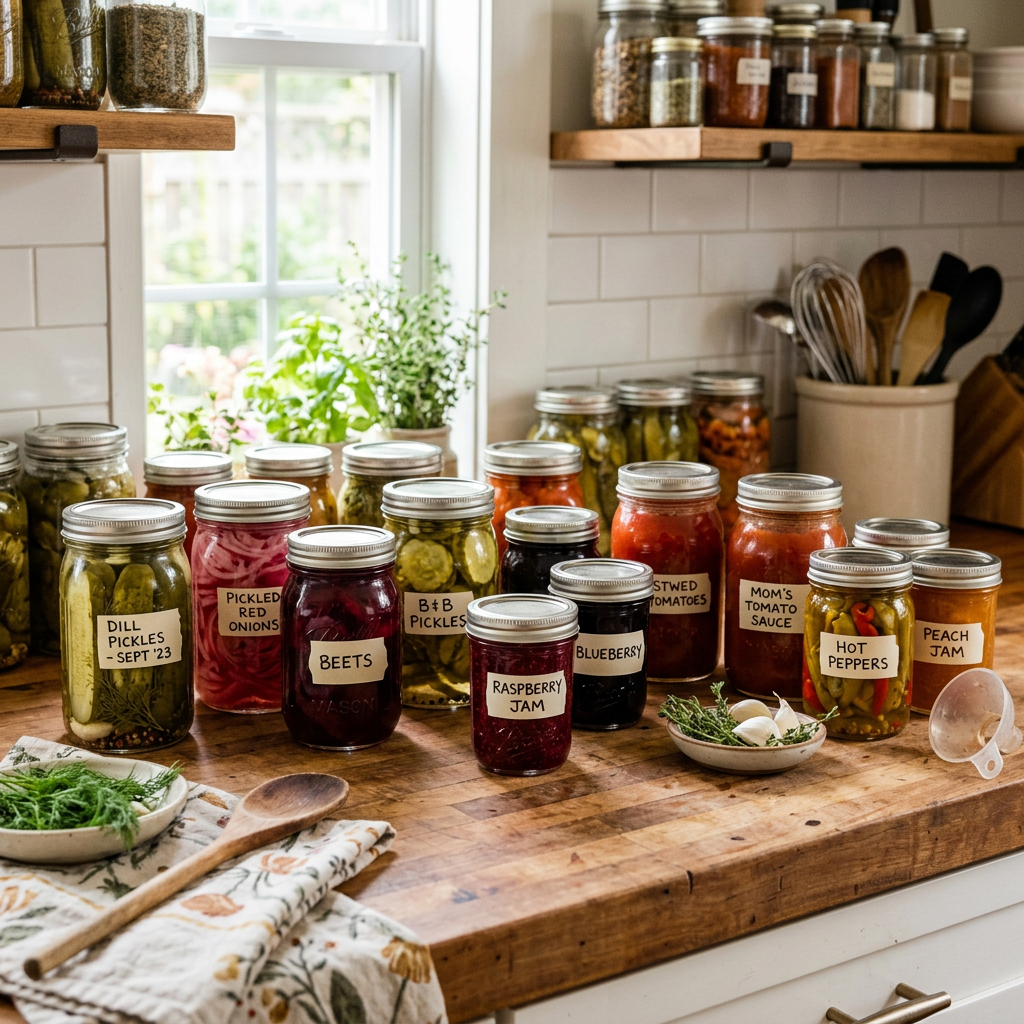
Everything Pickles!
Dill Pickles–
You can whip these up using a vinegar brine or just let ’em ferment, but that awesome dill flavor is what they’re really known for!
Sour/half sour-
These pickles are soaked in salt brine instead of vinegar, so they’re only kind of fermented and pretty mellow. People often call them “new dills.”
Sweet or candied-
Packed in a thick syrup or brine, you get that sweet-to-sour goodness with a sugar to vinegar ratio of around 2:1. These pickles are perfect for anyone who loves a little sweetness!
Bread & Butter-
These sweet and sour pickles are packed with flavor from mustard seeds and turmeric, which gives them that cool yellow hue.
