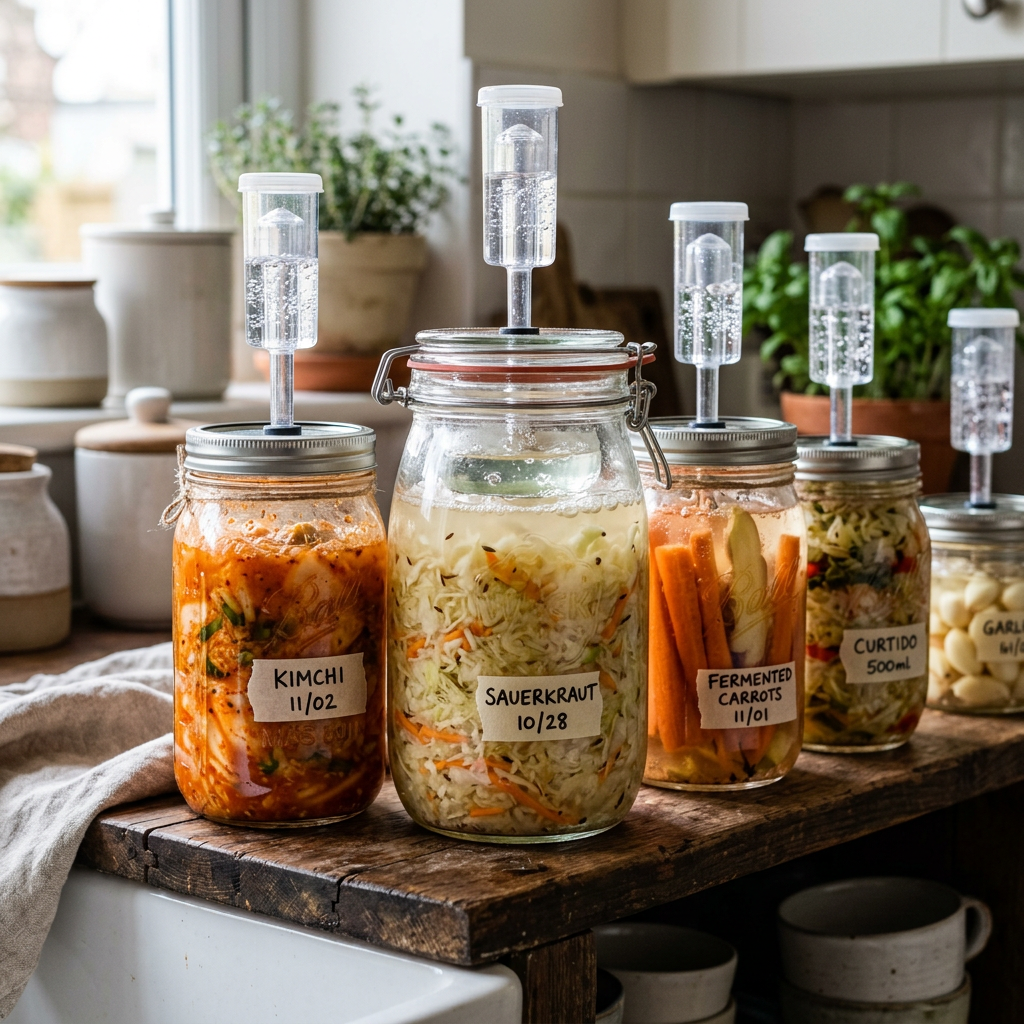
Fermentation is one of those cool processes that happen when there’s no oxygen around. It’s how we end up with stuff like organic acids (think lactic acid), gases, or even alcohol.
Fermentation has been around for ages, and it’s a cool way to keep food fresh!
Probiotics are microorganisms that are easily created in fermented foods, and they totally help boost your gut health and digestion.
Ale, kefir, kombucha, and sauerkraut, they’re all made through fermentation!
Understanding Fermentation
Grains, veggies, and raw dairy are full of good bacteria when they’re in their natural state. If you create the right conditions for these little guys, they start to grow and multiply, which leads to lactic acid being produced. This awesome process called lacto-fermentation not only makes fresh foods last longer but also boosts the levels of enzymes, probiotics, and vitamins in the end product. And zymology? That’s just the cool science behind fermentation and how enzymes work their magic!
Good Ferments Gone Bad
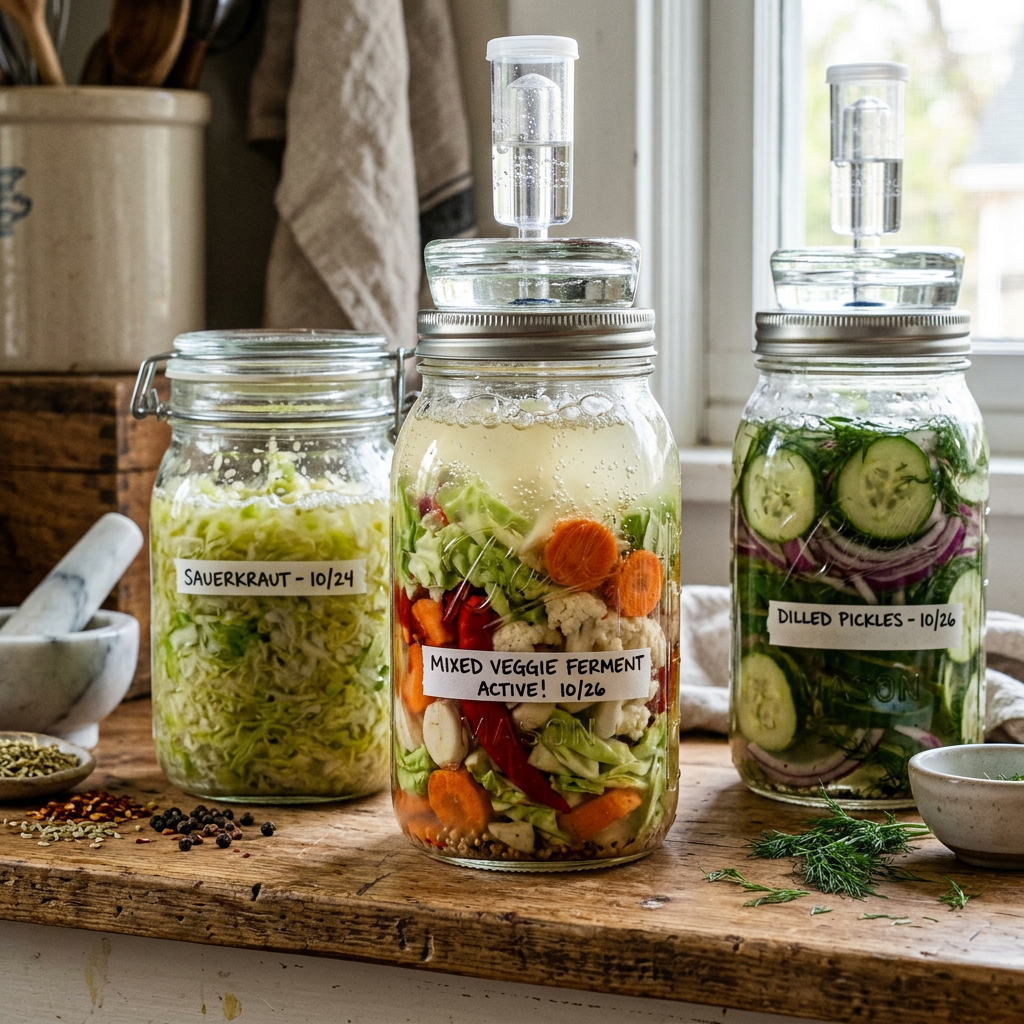
It’s pretty uncommon for ferment to go bad. If the contents start to hit the air because the brine’s run low, then you might have some spoilage issues. Ferments that are bubbling away can spill over, which is totally normal, but if you lose too much liquid, you’ll have to top it off so the veggies stay underwater. You might notice a little bit of white yeast floating on top of the liquid—no worries, just scoop it off!
Some considerations:
- If your white yeast looks all funky and turns green, pink, yellow, or blue, just toss it into the compost bucket.
- Smell it; it should have a pleasing sour or yeasty odor.
- Try it! A bold taste is totally fine, and the flavor might shift a bit over time. Just make sure it never tastes bad.
- Keeping your fermented goodies in a cool, dry spot like a pantry or cellar can help them last for up to a year. Sticking them in the fridge will definitely slow down the fermentation, but it’s really not a must.
What you’ll need:
There’s a bunch of cool tools out there, but honestly, not many of them are actually needed.
- Glass weights – to keep the ingredients submerged in the liquid. If you’re not keen on buying glass weights, just fill a plastic bag with water and pop it on top of the liquid!
- Air locks – these handy things seal up your jars but let those gases out as your food ferments. Or you can Just pop off the lid of your jar once a day to let off some pressure. Seriously, you don’t want a big, messy blowout of fermenting liquid!
The Roots of Fermentation
- Kombucha kicked off in China and then took a trip down the legendary Silk Road.
- Kefir first showed up in the 19th century, coming straight out of the Caucasus Mountains.
- Beer-making probably came about right around the same time people started farming grains.
Versatile Vinegar the uses for vinegar are endless!
- add to oil for a simple salad dressing
- add to marinade, macaroni, potato salad, or meat tenderizer for a tangy twist
- Super important for pickling veggies!
- use in natural cleaning solutions
Mixing brines into your condiments is cool and all, but why not toss them in your pasta or potato salads? You can even splash some in your drink for a tasty little health kick!
You can pretty much ferment any fruit to whip up some vinegar, though some taste way better than others. Plus, you can totally make your own vinegar using white or red wine, or even turn beer into malt vinegar.
Fermented Drinks
Fermented drinks have a fun little kick to them! Fermentation is where the magic happens; it turns sugars into acids or alcohol. Now, while beer and wine pack a punch with their alcohol content, most of the homemade ferments have only a tiny bit. Kombucha and water kefir are both super tasty options that give you a nice probiotic boost in a bubbly drink, and don’t forget about Jun! It’s another cool fermented drink made from green tea and honey.
SCOBY is the symbiotic culture of bacteria & yeast & is the key to homemade kombucha.
A SCOBY is that funky “mother” that gets the fermentation party started. It’s this kinda weird, leathery thing that just hangs out on top of the kombucha while it brews. Made of bacteria and yeast, a SCOBY works its magic by turning plain old black tea and sugar into a bubbly, fermented drink, getting bigger with every brew. Because of this, you can easily split and share your SCOBY with friends who wanna dive into making their own kombucha. Honestly, if your SCOBY is thriving and you’re brewing often, you’ll probably end up with more SCOBY than you know what to do with!
Sure, you can totally grow a SCOBY from store-bought kombucha, but honestly, it’s way easier to snag one from a friend or buy a dehydrated one from places like culutresforhealth.com.
Fermented drinks such as kombucha or water kefir are a good alternative to soda.
Fermentation Recipes
Kimchi
Makes 6-8 Cups, Store for ups 3 months in the refrigerator
Kimchi is a classic Korean side dish that’s usually made with Napa cabbage and daikon radish, and trust me, there are tons of variations out there!
This fresh garden twist may not be the real deal, but it’s got that spicy crunch and is a super fun way to dive into home fermenting!
What you’ll need:
- A big half-gallon jar or any large container that seals tightly
- 1 head of nappa cabbage
- About 3 small bunches (around 4 cups) of bok choy, roughly chopped up
- 3 green onions, sliced
- 1 cup of shredded daikon radish
- 1 cup of carrots, thinly sliced or shredded
- 1 1/2 tablespoons of sea salt
- 10 garlic cloves, minced
- 1 (1-inch) piece of fresh ginger, peeled & minced
- 1-2 tablespoons of red pepper flakes, totally up to how spicy you want it!
- 1 glass fermenting weight
Instructions:
- Keep one outer leaf of that cabbage whole and just chop up the rest roughly.
- Grab a big bowl and toss in the chopped cabbage, bok choy, green onions, daikon, carrots, and a pinch of salt.
- Grab a pounding tool or the back of a solid wooden spoon and go to town smashing those ingredients until the veggies shrink down by about half.
- Toss in the garlic, ginger, and the red pepper flakes.
- Pour the mix into a half-gallon jar and really press those greens down until they’re soaked by the juice. At first, it may seem like there isn’t much, but trust me, once you mash everything down in the jar, you’ll be amazed at how much liquid ends up coming out.
- Place the reserved cabbage leaf on top of the kimchi to keep all those little bits below the surface. Then, toss a glass fermenting weight on top to hold everything down. It’s super important that everything stays underwater, so if the juices don’t cover the veggies completely, just add a splash of filtered water to top it off.
- Seal up the jar. If you’ve got one with an air lock, awesome! If not, just remember to crack that lid open a bit every day to let out any gases that build up.
- Let the kimchi chill at room temp for about a week. Taste it as it goes! Once you’re loving the flavor, dig in and enjoy!
Apple Cider Vinegar
Instructions:
Makes 6-7 cups
- Pack the jar about 3/4 full with those apple trimmings.
- Just toss some sugar over the apples, then pour on enough filtered water to cover them.
- Put a glass weight on top of the fruit to keep it submerged in the liquid.
- Grab a thin napkin or an old piece of cloth, cover the jar with it, and use a rubber band to hold it in place.
- Pop the jar in a cool, dry cupboard and let those apples work their magic, give it at least 4 weeks, or longer if it’s cooler than 70 degrees where you’re storing it. And don’t freak out if you see a gooey layer floating on top; that’s the “mother” and it’s super useful! Just toss it in your next batch and you can skip the sugar. If you’re not using it right away, just pull it off and stash it in the fridge in a jar with a splash of the finished vinegar.
- Keep an eye on the vinegar every couple of days to make sure the fruit’s still underwater. Toss in some more filtered water if you need to.
- Strain the vinegar and pour it back into the jar. Cover it up again with that thin cloth and rubber band, then let it sit for another 2-3 weeks. Give it a stir now and then, and you’ll see it start to look and taste like your favorite apple cider vinegar from the store.
- Pour the vinegar into some bottles you can seal up, and use it however you like. Toss the apple scraps into your compost bin.
Kombucha
Makes about 3 quarts
Kombucha has been around for ages and is loved for its health perks! Making your own is super cheap and you can totally play around with your favorite fruit flavors. Just keep in mind, you’ll need to grow, borrow, or buy a SCOBY to get started. Make sure to use bottles that are meant for fermentation to dodge any messy explosions. Grolsch-style glass bottles (you can find them at kitchen stores) work great, as do clean, repurposed swing-top bottles from beer or other fermented drinks. Oh, and skip the non-round swing-top bottles like those maple syrup ones when making kombucha! If you keep the sealed bottles in the fridge, they can last for weeks.
For continuous brewing, just follow steps one to three on the day you kick off the 2nd ferment, and you’ll be starting another cycle!
What you’ll need:
- 3/4 cup of sugar
- 1 tablespoon of loose black tea
- 1 SCOBY
- 2 teaspoons of honey, divided
- 14 cups of fresh soft fruit like blueberries, raisins, strawberries, or you can swap in 4 tablespoons of your favorite fruit juice.
- 1- 1 gallon wide-mouth glass container, 4-quart-size swing-top bottles, funnel
Instructions:
- Heat up 3 quarts of water in a big pot.
- Let it cool a bit, then mix in the sugar and the tea. Let the tea chill out until it’s cool.
- Pour the sweet tea into a glass container and toss in the SCOBY.
- Grab a thin piece of fabric and stretch it over the top of the jar with a rubber band. This way, air can get in, but bugs can’t. Just let it chill at room temp for about a week.
- Take out the SCOBY from the big jar and toss it in a bowl with half a cup of the liquid.
- Kick off the 2nd ferment: For each of those quart-size swing-top bottles, toss in about 1/2 a teaspoon of honey and a handful of fruit pieces, or just go with 1 tablespoon of fruit juice.
- Grab a funnel and fill those swing-top bottles with tea, making sure to leave about 2-3 inches of space at the top. Pop the lids on tight and stash the bottles in a cool, dark spot at room temperature for a week.
- Chill some cool bottles in the fridge, then kick back and enjoy!
Water Kefir
Makes 1 quart
To whip up some water kefir, you’ll need to snag some kefir grains. These little guys are a mix of friendly bacteria and yeasts. If you don’t have a buddy who can hook you up, no worries! You can grab them online at culturesforhealth.com and just rehydrate them before diving into this recipe. After you strain the grains out of the sugary water, you can sip on it right away or let it go for a second ferment, which makes it all bubbly and fizzy. Plus, you can start another batch of water kefir by tossing those strained grains into some fresh sugar water. Your bottles of water kefir will chill in the fridge for a couple of weeks without a hitch!
What you’ll need:
- 1/4 cup of sugar
- 1/2 cup of hot water
- 3 cups of room-temperature water
- 1 packet or tablespoon of water kefir grains, rehydrated in room-temperature water for several days, if starting with dry grains
- 1/2 cup of fruit juice of choice (only needed for 2nd ferment)
- 1 quart-size swing-top bottle (only for 2nd ferment)
Instructions:
- Combine the sugar & hot water in a quart-size jar or container. Stuir until the sugar dissolved.
- Add the 3 cups of room-temperature water.
- Add the water kefir grains
- Cover the jar with a thin cloth napkin & set in a warm place (70-85 degrees) for 24-48 hours. (The sugar content is reduced by longer fermentation.)
- Strain the kefir grains from the water kefir, keeping the liquid & also the grains. Retain the grains for making another batch of water kefir.
- Enjoy that water kefir right away, or bottle it up for a second ferment to make it all fizzy and fun!
- For the secondary ferment, just pour your water kefir into a swing-top bottle and toss in that 1/2 cup of fruit juice. Let it chill at room temp for about 24-72 hours – if it’s warmer, check it sooner, and if it’s cooler, it might need a bit more time. Remember to pop the bottle open every day to let out some pressure (especially when it’s super warm out). Once you’re ready, throw it in the fridge and be careful when popping those bottles open!
Cocktails
Great Flavor combos to try:
- Apple & Cinnamon
- Peach & Ginger
- Strawberry & Basil
- Cucumber & Mint
- Blackberry & Thyme
- Strawberry & Blueberry
- Pear & Ginger
- Cranberry & Orange
- Lime & Mint
- Peach & Vanilla
Flavor-Packed Vodka
What you’ll need:
- Grab 2 cups of chopped fresh fruit or whole berries, and just give ’em a little smash with a wooden spoon.
- 2-3 cups of 80- proof vodka
- Cheese Cloth or fine sieve
- A 750ml bottle that’s got a narrow neck or something similar, with a lid that seals tight.
Instructions:
- Toss the fruit into a quart-size jar or any other container that seals up tight.
- Just splash that vodka over the fruit until everything’s all soaked, then toss the lid on the jar.
- Place the jar in a cupboard & let the flavors infuse, tasting daily until it achieves your desired flavor, 2-5 days. (Don’t let it go for too long or it will create a harsh flavor.)
- Strain the vodka using cheesecloth—maybe even do it twice to get rid of any pesky fruit bits. If you really want a crystal-clear infusion, go ahead and strain it again with a fine mesh coffee or tea strainer.
- Pour it into that skinny bottle (keeps the air out!) & cap it tight.
Limoncello
Makes about 5 cups
This Italian drink is made in two stages, so it takes a little longer to whip up than your basic infusion. But hey, you can keep it in the fridge for up to a year! Italians say that sipping on Limoncello after a meal helps with digestion, and who doesn’t love a tasty way to feel good?
What you’ll need:
- Zest of 10 lemons (reserve the fruit of the lemons for other use.)
- 1(750 milliliter) bottle of vodka
- 2 cups of sugar (or more, to taste)
- cheesecloth or fine sieve
Instructions:
- Toss the lemon zest into a quart-size jar or any container with a lid, pour in the vodka, and seal it up. Give it a good shake and then stash it in a cool, dry spot for 2 weeks.
- Grab a small pot and toss in 1 1/4 cups of water and the sugar. Heat it up until it’s boiling, then take it off the heat and let it cool down.
- Just dump the syrup into the jar of zest-infused vodka, pop a lid on it, and let it chill for a day.
- Strain the limoncello through a fine sieve a couple of times to get rid of all the zest bits. Then, just pop it into an airtight container for storage.
Strawberry Shurb Syrup
Makes about 3 cups
An old-school drink with a quirky name, a refreshing shrub mixes fresh fruit goodness with the zing of vinegar and the fizz of soda. It’s definitely one of our go-to summer sippers. This recipe for shrub syrup, which is key for making the drink, calls for strawberries, but you can totally experiment with other soft fruits too. To whip up a strawberry shrub, just toss a tablespoon of that syrup into a glass of sparkling water. You can also get creative and use this syrup in cocktails or to jazz up your salad dressings. Just keep the syrup in the fridge, and it’ll last for a few months!
What you’ll need:
- 2 cups of strawberries, chopped up fresh or frozen
- 2 cups of apple cider vinegar
- 1 1/2 cups of sugar
- cheese cloth or fine sieve
Instructions:
- Toss the strawberries into a quart-size jar or whatever container you’ve got lying around that seals up.
- In a small saucepan on medium heat, heat up the vinegar until it’s almost simmering. Take it off the heat and pour it right over the strawberries. Seal up the jar .
- Keep the vinegar in a cool, dark spot until it soaks up that yummy strawberry flavor, it should take about 2-4 weeks.
- Pour the vinegar through some cheesecloth, and keep doing it until you can’t see any fruit bits left.
- Toss the strawberry-flavored vinegar and sugar into a saucepan and heat things up until it boils. Once the sugar’s all dissolved, take it off the heat and let that yummy shrub syrup cool down.
- Just pour the syrup into a clean container with a lid and pop it in the fridge.

