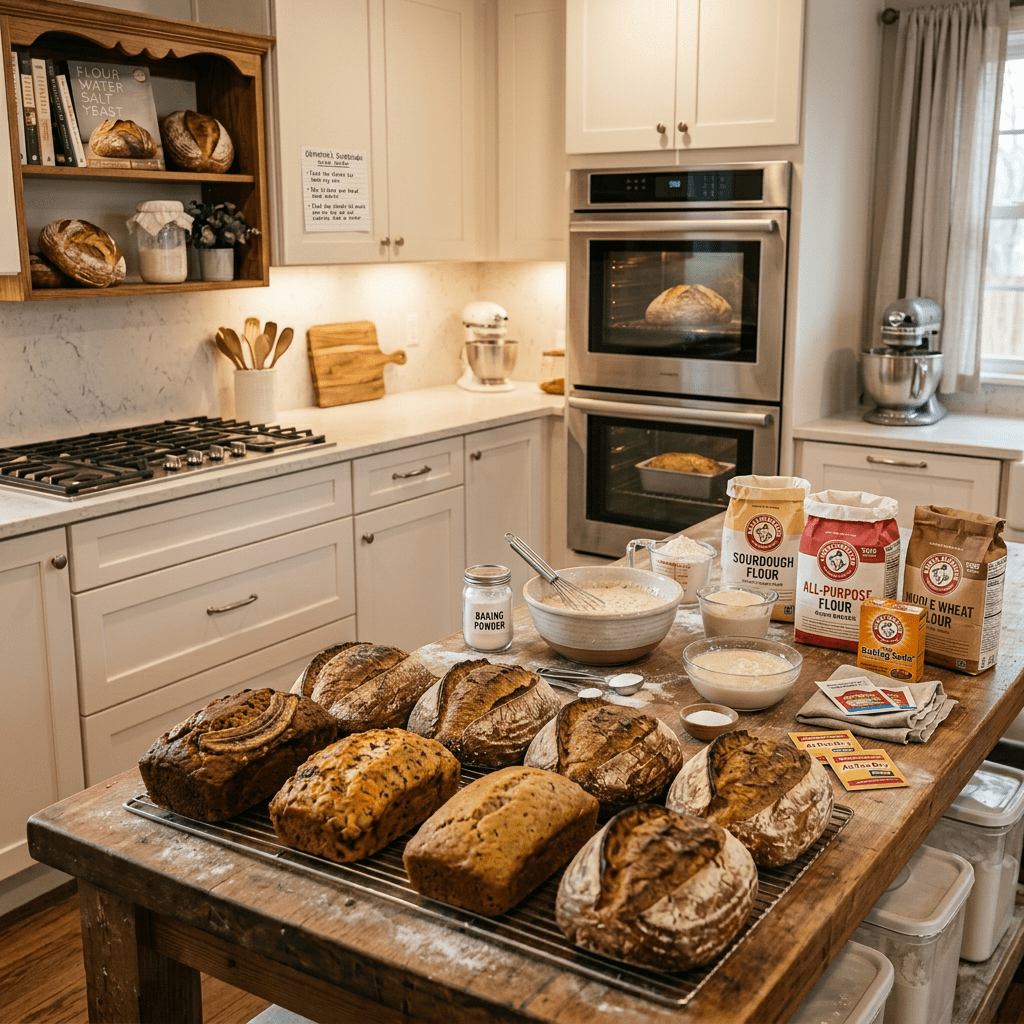
Nothing beats the smell of fresh, warm bread right out of the oven! It totally elevates even the simplest meals. Plus, when you bake your own loaves, you save money and cut down on single-use plastic bags. Before you dive into the kitchen, take a little time to learn some of the basic bread-baking chemistry.
- Leavening: This stuff is what makes your bread puff up and not turn into a dense brick. If you’ve ever spaced on adding baking soda or baking powder to your recipe, you know what I mean. Sure, it’s still edible, but let’s be real—it’s not the tastiest!
- Quick Breads: These babies are the speedy, fun stars of the bread world! Just pop a loaf in the oven and watch it puff up like magic, all thanks to baking soda or powder. Whether you’re craving something sweet or need a tasty sidekick for your meal, quick breads have your back. Super easy to whip up, they’ve got that soft, cake-like vibe instead of the chewy, crusty texture you get from yeast breads and sourdough. Think Banana Bread, cornbread, and good ol’ Irish soda bread – all quick bread champs. And hey, muffins, scones, and biscuits might not look like a loaf, but they’re made using the same simple quick-bread method! If you stock your pantry with those prepackaged bread mixes, now’s your chance to swap from store-bought to homemade. A lot of those mixes have “bonus” stuff to keep them fresh for ages on the shelf. They usually ask you to add fresh ingredients like milk & egg. While you’re at it, you might as well measure out a few dry ingredients and impress your family with a freshly made version that’s totally yours. Just a heads up: when making quick breads, go easy on mixing the ingredients. Mix until just combined because if you overdo it, the bread can turn out tough.
- Yeast Bread: So, yeast bread is all about that fermentation magic! You mix some yeast with warm water, and then toss it into your dough. The yeast goes to town eating up the sugars and, boom, you’ve got carbon dioxide and alcohol bubbling away. That’s what makes the bread rise and gives it those delightful air pockets. Plus, yeast breads usually have less fat and sugar than quick breads. The ingredient list is usually pretty chill too—just flour, water, yeast, and salt. Easy peasy!
- Sourdough: Making bread with sourdough is super cool! It gives your loaves that awesome tangy flavor. You kick things off with a “starter culture” that grabs wild yeasts floating around. Basically, it’s a mix of flour and water that can last for ages—some folks even pass theirs down through the family! You can totally use sourdough starter instead of regular yeast in your bread recipes, and it’s also great for whipping up muffins, pancakes, and pizza dough.
Kneading Bread
Kneading is super important for making a great loaf of yeast bread. When you first throw everything together, the dough is all lumpy and sticky. Kneading helps develop gluten, that protein that makes bread nice and stretchy. As you keep kneading, you’re also trapping air in the dough, which creates those little bubbles that help the bread rise.
Kneading is just the process of folding and stretching dough over and over until it feels nice and smooth. To do this by hand, throw some flour down on your workspace. Grab a ball of dough and toss on a bit more flour. Use the heel of your hand to push down in the middle of the dough, making a little indent. While you’re pushing, use your fingers to pull the dough towards you and fold it back over itself. Do the same with your other hand. Just keep lifting and turning the dough, and add more flour if it starts to stick.
Kneading bread dough takes around 10 minutes, more or less, but you’ll totally get the hang of it. You’ll know you’re all set when the dough feels nice and smooth, not at all sticky. If you take a close look, you might spot little air bubbles popping up just beneath the surface.
Looking to save some time with your electric stand mixer? Grab a dough hook attachment to do all the kneading for you!
You can grab commercial yeast in packs of 3 at the grocery store, or if you’re looking to save a few bucks, check out the bulk options at discount warehouse stores or online.
Recipes
Quick Breads
When you’re whipping up quick breads, just mix things until everything’s blended together. Overdoing it can make the bread kinda tough.
Buttermilk Oat Bread
Makes 1 loaf
Sometimes you just crave fresh bread to go with your meal, but you don’t have the time to wait for a yeast loaf to rise. This easy, savory quick bread is a perfect backup and it’s done in less than an hour. Serve it warm with some butter, or use it for making sandwiches.
What you’ll need:
- 1 cup of old-fashioned rolled oats (plus more for sprinkling on top)
- 2 1/3 cups of unbleached all-purpose flour
- 2 1/4 teaspoons of baking powder
- 1/2 teaspoon of baking soda
- 1 teaspoon of salt
- 1 cup of plain yogurt
- 1 large egg
- 1/4 cup of olive oil
- 1/4 cup of honey
- 1 cup of buttermilk
Instructions:
Preheat oven to 375 degrees. Grease 9×5-inch loaf pan.
In a mixing bowl, combine the oats, flour, baking powder, baking soda, & salt.
In a separate bowl, mix together the yogurt, egg, oil, & honey until combined. Stir in the buttermilk.
Stir the yogurt mixture into the flour mixture.
Pour the batter into the prepared loaf pan, smoothing the top & sprinkling it with oats, if desired.
Bake until golden brown on top & a toothpick inserted into the center of the bread comes out clean, 60-70 minutes.
Place the pan on a wire rack to cool for an hour before slicing.
Soft Flour Tortillas
Makes 10 tortillas
Homemade tortillas are more like flatbreads than loaves, and they’re perfect for whipping up tacos, quesadillas, or wraps. They’re super soft and chewy, with a fresh taste that totally beats anything you can buy at the store. If you have any extras, just wrap ’em up and pop them in the fridge for a week or two, or freeze them between sheets of wax paper for up to three months.
What you’ll need:
- 2 1/2 cups of unbleached all purpose flour, plus more for dusting
- 2 teaspoons of baking powder
- 1 teaspoon of salt
- 1/2 cup of lard or slightly softened butter
- 1 cup of hot water
Instructions:
- Lightly dust a clean countertop with flour.(baking tip; a flour sack towel spread flat on a countertop & sprinkled with flour makes a great nonstick surface for rolling out dough.)
- In a large mixing bowl, combine the flour, baking powder, & salt.
- Using a pastry cutter or fork, cut in the lard until it’s thoroughly mixed in & the mixture is crumbly.
- While stirring the crumbly mixture, gradually add just enough of the hot water that the dough sticks together & forms a ball.
- Turn the dough out onto the floured countertop, & knead the dough into a smooth ball with your hands.
- Divide the dough into 10 even pieces, then roll them into balls. Cover the balls of dough with a damp towel & let them rest for 30 minutes.
- Preheat a large cast-iron or other heavy-bottomed skillet over mdm-high heat.
- Dust a clean surface with flour, then use a rolling pin to roll a ball into an 8-inch round.
- Cook the tortilla in the hot skillet until golden & bubbly, about 30 seconds. Flip it & cook until golden on the 2nd side. Wrap the tortilla in a clean towel.
- Repeat with the remains dough, stacking the tortillas in the towel until you’re ready to eat them.
15-Minute Drop Biscuits
Makes 10
These biscuits are super quick to whip up and have the same buttery yumminess as the rolled ones. Don’t hesitate to mix up the flavors! Toss in a clove or two of crushed garlic and some Parmesan cheese into the dough, or just sprinkle some poppy seeds on top before baking. Once they’re done, keep those biscuits in a sealed container at room temp for a couple of days, and just reheat them when you’re ready to munch!
Using whole wheat is pretty cool! When you’re whipping up quick breads, you can usually swap out half of the white flour for whole wheat flour without any issues. The bread’s texture should stay pretty similar, but it will definitely look darker. Plus, bread made with whole wheat has this awesome, earthy flavor that really stands out.
Going Gluten Free: If you’ve got a gluten sensitivity, you’ll want to stay away from wheat flour, which is found in most bread recipes. A gluten-free flour mix can be great for quick breads, but it totally changes the texture of yeast breads since it’s the gluten that gives them that chewy goodness.
Linen bread bags are a game changer if you’re tired of your homemade bread going moldy before you can finish it. Stashing it in a linen bag can really help it last longer. The linen fabric soaks up moisture, keeping your loaf fresh. You can find linen cloth at most fabric stores, but don’t forget to check out thrift stores for some cool linen napkins or tablecloths that you can up-cycle!
What you’ll need:
- 2 cups of unbleached all-purpose flour
- 1 tablespoon of sugar
- 1 tablespoon of baking powder
- 1 teaspoon of salt
- 1/2 cup of cold butter, cit into cubes
- 1 cup of milk
Instructions:
- Preheat your oven to 450 degrees. Grab a bowl and toss in the flour, sugar, baking powder, and a pinch of salt. Then, with a pastry blender or a fork, work in the butter until everything looks like fine crumbs. Finally, stir in the milk just until it all comes together.
- Use a spoon to scoop out some 1/4-cup heaps of biscuit dough onto a non-greased cookie sheet, leaving about an inch between each dollop if you want crispy edges or just have them barely touching for softer ones.
- Bake those biscuits until they start getting a nice golden brown, which should take around 10 minutes. Then, take them off and let them cool on a wire rack, and enjoy them warm!
Yeast & Sourdough
Honey Wheat Sandwich Bread
Makes 1 loaf
This recipe makes super soft & tender sandwich bread making it perfect for slicing. Give it a shot; I bet you’ll never want to buy store-bought sandwich bread again! Just keep the baked bread in an airtight container at room temp, and it’ll stay fresh for about a week.
Ingredients:
- 1/2 cup of milk
- 1/2 cup of hot water
- 2 1/4 teaspoons (1 envelope) active dry yeast
- 1 1/2 to 2 cups of unbleached all-purpose flour
- 1 cup of whole wheat flour
- 1/4 cup of melted butter or coconut oil, plus more for greasing
- 2 tablespoons of honey
- 1 teaspoon of salt
Instructions:
- In a big bowl, mix the milk and hot water. Toss in the yeast and give it a good stir until it’s all dissolved. Let it chill for about 10 minutes until it starts bubbling up. Then, add 1 1/2 cups of all-purpose flour, the whole wheat flour, melted butter, honey, and a pinch of salt. Stir it all up until the dough starts coming together in a ball; if it’s too sticky, just add a bit more of that leftover 1/2 cup of all-purpose flour until it forms a loose ball and the surface gets nice and smooth.
- First off, give your surface and bowl a light swipe of butter. Now that your hands are all buttery, grab the dough and plop it on the surface. Knead it until it feels nice and soft. If you peek closely, you should see little air bubbles sneaking just under the surface.
- Toss the dough into the bowl you prepped, then give it a flip so it’s all buttery on both sides. Cover it up with a tea towel and let it chill in a warm spot until it’s nearly doubled in size, about 1-2 hours.
- Grab some cooking spray or a little butter and give a clean surface and a 9×5-inch loaf pan a quick grease. Now, give that dough a gentle fist punch to let some air out, then slide it over to your greased surface. Flatten it into a rectangle, like the size of a sheet of paper. Fold that bad boy into thirds, then toss it in the loaf pan with the seam side down.
- Take a clean, damp tea towel and throw it over the pan. Let the dough hang out in a cozy, draft-free spot until it puffs up above the edge of the pan—this’ll take about an hour. While that’s happening, crank your oven up to 350 degrees.
- Bake the bread until it is lightly browned, 30-35 minutes. Place the pan on a rack to cool for 40 minutes, then turn out the loaf onto the rack to continue cooling. Let Coll thoroughly before slicing.
Family Favorite Pizza Dough
Makes 2(12-inch) pieces
Ingredients:
- 1 1/2 cups of warm water
- 2 tablespoons of sugr
- 2 1/4 teaspoons (1 envelope) active dry yeast
- 1 teaspoon of salt
- 2 tablespoons of olive oil, plus more for greasing
- 2 teaspoons of Italian seasoning
- 4 cups of unbleached all-purpose flour (you can substitute whole wheat or spelt flour for up to 2 cups)
- Cornmeal to coat a pizza pell
- Pizza sauce & toppings of choice (only necessary if you’re not freezing crusts for later use)
- pizza stone, pizza peel
Instructions:
- Whip up the pizza dough: Grab a bowl and toss in some warm water, sugar, yeast, salt, olive oil, and a dash of Italian seasoning. Let it chill for about 5 minutes.
- Grab your stand mixer and toss in the proofed ingredients on low. Slowly add just enough flour until the dough forms a smooth, non-sticky ball—should take around 7 minutes!
- Grab a clean bowl and slather some oil on it. Toss your dough in there, giving it a flip to make sure it’s all nice and coated. Throw a tea towel over the dough and let it chill in a warm spot for about 45 minutes.
- Dust some flour over a clean countertop. Split the dough in half, then grab your rolling pin and roll one half into a 12-inch round, flipping it over now and then and sprinkling on more flour if it starts getting sticky. Do the same with the other half. (If you’re into personal-sized pizzas, just break the dough into balls about the size of tennis balls before you start rolling.)
- Cook the dough: First things first, crank up that oven and get your pizza stone nice and hot at 450 degrees. Sprinkle a good amount of cornmeal on your pizza peel or baking sheet so things don’t stick. Grab one of those dough rounds and plop it onto the prepared peel. If you want to save some dough for later, just slide it onto the hot pizza stone and bake it until it starts puffing up, about 7 minutes. Let it cool down, wrap it up, and toss it in the freezer. If you’re ready to eat, throw on your favorite sauce and toppings—either on the uncooked dough or the pre-baked one (makes it a breeze to transfer). Slide that masterpiece onto the hot stone and bake away until the edges are golden and crispy, usually around 10-12 minutes. And then just repeat with the next dough round!
Sourdough Starter
Makes 1 cup
Sourdough is the classic choice when it comes to using a leaving agent. With this method and a well-stocked pantry, you can whip up a tasty sourdough loaf without relying on store-bought yeast. Keeping a sourdough starter alive does take a little effort. You’ve just got to remember to feed it and use it on the regular. Plus, since wild yeast changes from one area to another, the flavor of your sourdough starter will really vary from spot to spot.
Ingredients:
- 5 1/2 cups of unbleached all-purpose four, plus more if needed
- 5 1/2 cups of room-temperature filtered water, plus more if needed
Instructions:
Day #1
Just grab a quart-size jar and mix together 1/2 cup of flour and 1/2 cup of filtered water. Give it a good stir to combine everything. Then, use a rubber band to secure a cloth napkin over the top of the jar. Let it hang out at room temperature for about 24 hours.
Day #2
Just mix in 1/2 cup each of flour and filtered water to “feed” the starter. Do it once in the morning and again at night.
Day #3 Repeat step 2
Day #4
You should be seeing some bubbles by now, and there’s probably a tangy smell coming from your starter—don’t worry, it’s not too bad! Just give it a good stir and only keep about 1/2 cup each time you feed it from now on; toss or save whatever you pour out for later. Then, just rinse and repeat step 2.
Day #5 & 6
Keep feeding it like you did in step 4. By now, your starter should be bubbly and getting bigger with each round of flour and water. If it’s not bubbling away just yet (probably because it’s a bit chilly), don’t worry—just keep at it for up to a week. Sometimes a new starter takes its sweet time, especially if your kitchen is on the cooler side.
Once your starter is bubbling, it’s good to go for all kinds of recipes! To keep it lively and ready for action, just feed it daily and store it at room temp. You’ll notice it gets super active when it’s warm, which means a nice rise. If you’re not using it right away, pop it in the fridge, but remember to bring it back to room temperature about 24 hours before you want to bake. Give it a stir, feed it, and then toss the room-temp starter into whatever recipe you’re making!
Crunchy Sourdough Baguette
Makes 2(12 inch)baguettes
Shaping your bread into a long, skinny loaf gives you more crust to munch on. Just slice up that baguette nicely, toast it up, and slather on your go-to spreads!
Ingredients:
- 2 cups of unbleached all-purpose flour, plus more for kneading
- 1/2 teaspoon of sea salt
- 1/2 cup of active sourdough starter
- Oil, greasing the pan
Instructions:
- In a mixing bowl, toss in all the ingredients along with 1/2 cup of water. Give it a good mix!
- Toss about a 1/4 cup of flour on a clean work surface. Give that sticky, loose dough a little knead, mixing in the flour until it starts to hold its shape.
- Grease a baking sheet. Split the dough in half. Flatten each half into a 12 x 14-inch rectangle, roll it up lengthwise, and pinch the seams shut. You want each loaf to be about 2 inches wide and 12 inches long. Place the baguettes seam-side down on that greased baking sheet.
- Throw a damp tea towel over the dough and let it chill in a warm spot until it puffs up to double its size. This should take about 5-6 hours.
- Preheat oven to 425 degrees
- Bake it until it’s golden brown, takes about 15 minutes.
- Let it chill on a rack for about 30 minutes, then slice it up and dig in!

